The emerging need for sending instant messages first got out a long time ago, and once again recently when we fought the Lockdown duration. It was hard for chatters like us to wait even a single day to talk to friends, cousins, and classmates.
Fortunately, we all currently acquire spectacular software stated eternally for chatting and making all such important things; WhatsApp. It’s software that includes so many preliminary features within normal chatting.
It’s easier to make video calls, and phone calls, and send media files and documents using the WhatsApp software.
Moreover, we’re also about to make you astound with a remarkable alteration developed for your WhatsApp app with some exceptional MOD scripts making it shine out from the entire WhatsApp family.
Yup, I’m talking about the WhatsApp Plus, and currently, we’re about to solve the most inevitable doubt present in the mind of every user.
We all love including customization and privacy-rich features in our WhatsApp interface, but nothing good comes without a sacrifice.
However, technological implications can deliver you think without a single data sacrifice, and that’s possible in WhatsApp Plus too.
We have submitted below two amazing methods to take a backup of WhatsApp chats and get switched to WhatsApp Plus without losing a single chat or media file.
Let’s not waste more crucial moments and get started with the real WhatsApp Plus explanation.
Contents
What is WhatsApp Plus?
Time is money, and the most important asset we have got from the almighty. Wasting it is directly proportional to taking a considerable risk, and while the thing is about sending significant messages or media files, we can’t deal with more time.
These days, we have apps like WhatsApp and Telegram, responsible for instantaneous messaging over the internet. Well, WhatsApp was a good resolution, but nothing is as spectacular as the MOD, WhatsApp Plus!
Yeah, WhatsApp Plus is the modified version of the official WhatsApp, which is mainly developed to enhance the overall privacy features and deliver you a customizable interface.
It’s one of the fastest messaging platforms that comes with pre-built task competency enhancer tools, such as Auto Reply and Message Scheduling. After using these features, one can save the time by providing all his messaging work to BOT.
After downloading WhatsApp Plus on your device, the first chore you’re required to do is get a healthy switch from the official version to the modified version.
By the healthy switch, I mean you need to have a switch with all your current data transferred to the exact Plus interface, including all your important profiles, group chats, and media files. Now, this can be done in two separate ways, which we’ve mentioned below one by one!
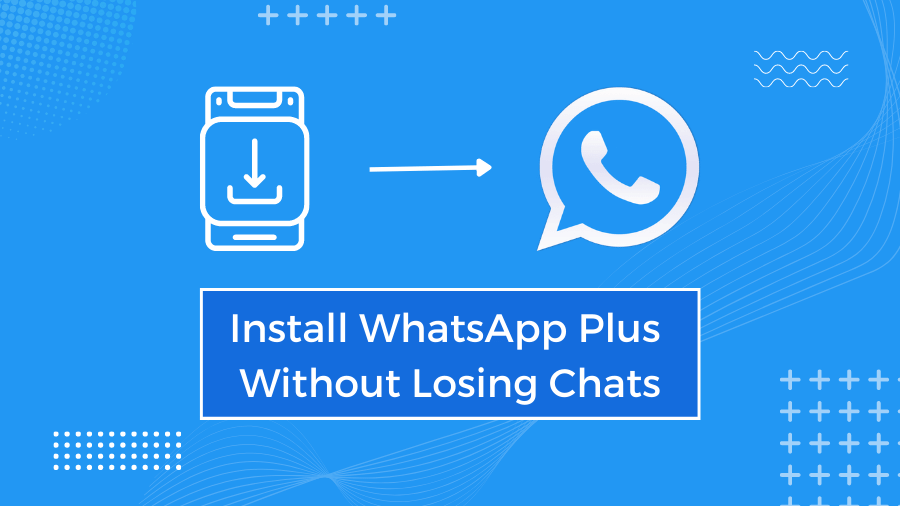
Methods to Install WhatsApp Plus without Losing Chats and Media Files
Installing WhatsApp Plus wasn’t that hard, not even a little bit! But still, the installation without losing chats and media files sounds complicated in the subconscious minds of tremendous instant chatters.
Well, if you want something new and astounding to happen in your life, the first thing you need is to make a little hustle without feeling numb.
Don’t take it that seriously, as it’d be a sneaky process that you’d complete within minutes and get switched from the official WhatsApp to the Plus version without losing any data.
Just choose one of the below methods as per your convenience and get started:
Method 1: Google Account Cloud Backup
There is nothing as simplistic as that of Google Account cloud backup, as it won’t require any additional device or software to get data backup.
All you require is your smartphone with an installed WhatsApp and all that data stored there. That’s all! Later, you can follow the below procedure step by step and get switched to WhatsApp Plus without losing chats.
Step 1: Create WhatsApp Data Backup to Google Account
To restore the data later on another app, first, you need to create a cloud backup on your Google Account, and it can be done using the below steps:
- Open the WhatsApp official app on your smartphone.
- Click the top-right corner three-dot icon to glimpse a huge menu.
- Inside that map, choose the Settings option.
- Afterward, hit the Chats section in the Settings menu.
- Scroll down a little, and you’d see an option named Chat Backup. Click it!
- Now, write down your Gmail account in the same section.
- Pick the bottom checkbox if you want to back up media too.
- Lastly, click the Back-Up green colored button listed in the above section.
Step 2: Download and install WhatsApp Plus
You’ve successfully created the complete backup of your WhatsApp data, almost everything you require inside the Plus version. Subsequently, it’s the moment when you require the application package of WhatsApp Plus on your smartphone.
After downloading this astounding WhatsApp Plus version, now you need to install it on your phone. Again, get through the below steps one by one and install it superficially.
- Firstly, download the WhatsApp Plus application package.
- Now, open the Settings app on your phone through the app dock or notification panel.
- Scroll down and search the Security section. Open it!
- Inside the exact Security section, you’d glimpse an Unknown Sources named toggle. Click and enable it.
- Finally, get back to the File Manager and navigate the location where you downloaded WhatsApp Plus APK.
- Click the WhatsApp Plus application package and hit the Install button on the next prompt notification.
Wait for a few seconds until you won’t see the App successfully installed message on your phone screen.
Step 3: Swap the backup from WhatsApp to WhatsApp+
The ultimate step to swap the backup from official WhatsApp to the WhatsApp Plus version would be simple, as you’ve successfully downloaded and installed the app package. Currently, you just need to follow the below simple steps:
- Run the WhatsApp Plus version on your phone.
- Paste your WhatsApp number on the number section of WhatsApp+.
- Finally, hit the verify button and inscribe the One-time password (OTP).
- After successful verification, you’d get an option to find cloud updates.
- Click it and choose the Google account where you backed up that data.
- It’d take a few seconds and soon will start restoring all your official WhatsApp data on the Plus version.
Wasn’t that smooth, eh? You got switched in moments, without wasting any moment on junky third-party apps and those things. But consequently, this switching setup sometimes doesn’t work fluently in WhatsApp Plus.
Now, if you’re also getting the exact problem, stop worrying and proceed to the next method to get switched on WhatsApp Plus without losing chats.
Method 2: Employing a PC Tool named Dr. Fone
The second method here would sound a little complex at the initial hearing, as currently you’re required to employ a PC tool named Dr. Fone. However, it’s not that complicated to employ this procedure, and it’s the smoothest method that requires no cloud storage or google account.
If you’re seeing your Google account not supported with the WhatsApp Plus version, you can go on through the below simplistic steps and get switched superficially.
Step 1: Download and Install the Dr. Fone app on your PC
Take a deep breath here and let’s get started with the first step towards success. This way, you’re deemed to download an exceptional PC software called Dr. Fone known at its best to create WhatsApp data backup, iOS recovery, Android recovery, and all such things.
Click the below download link to download Dr. Fone software from its official website and go through all the below steps to install it on your PC.
- After downloading Dr. Fone from the above link, right-click that .exe file.
- Among the right-click menu, choose the Run as Administrator tab.
- Press Yes on the next permission prompt.
- Finally, you’d glimpse the Dr. Fone software’s first view.
- Now, you need to click Next until they get installed on your PC.
- That’s it, now run the installed Dr. Fone software.
Step 2: Connect your Phone to a PC and Create a Data Backup
As of now, you’ve got the protocol, but the most important thing here is the resource. Mixing them both will provide you with the exceptional possibility of employing the WhatsApp Plus version on your device without losing chats.
Follow the below procedure for creating a fast backup:
- Connect your phone to the PC using a USB Data cable.
- Now, run the extracted Dr. Fone exe file as administrator on your PC.
- Among the massive task menu of Dr. Fone, left-click the WhatsApp Transfer tab.
- Finally, the app interface would show you all the later required steps, as per your device model.
Step 3: Download and Install WhatsApp Plus on Android Phone
Mixing both, protocol and resources would still fail as the major composition is missing, which is called the WhatsApp Plus application package.
This exceptionally modified WhatsApp version is ready to deliver you all the outstanding benefits and will be all yours after going through the below simple steps:
- Firstly, get the WhatsApp Plus application package.
- Now, open the Settings app on your phone through the app dock or notification panel.
- Scroll down and search the Security section. Open it!
- Inside the exact Security section, you’d glimpse an Unknown Sources named toggle. Click and enable it.
- Finally, get back to the File Manager and navigate the location where you downloaded WhatsApp Plus APK.
- Click the WhatsApp Plus application package and hit the Install button on the next prompt notification.
Step 4: Recover WhatsApp data from Dr. Fone
Ultimately, it’s time to get software freedom from the official exact WhatsApp interface and get switched to the most sophisticated WhatsApp called WhatsApp+. At the last point, you need to make the below simple task to recover WhatsApp Data from Dr. Fone.
- Connect your phone again with PC and run Dr. Fone exe file as an administrator.
- Click the same WhatsApp Transfer tab from the Dr. Fone menu
- This time, you need to click Restore WhatsApp in place of creating a backup.
- It’d also take a little time to paste all the backed-up data on WhatsApp Plus.
After a little wait, you’d see all your important chats and media files in the same manner and exact profiles on WhatsApp Plus as what you see within the official WhatsApp.